|
| Can the Demonspawn show its strength and slaughter some orcs this time? |
Hello again, and welcome to another report between Pete (Seerlord Morskitta)'s ratkin and my orcs. This was a timed friendly game in the weekend between two local tournaments, the WWSS and Runefang IX.
Two weeks ago I had a narrow win my against Pete before being crushed. However I didn't take enough photos of the second game to do a report, so for Pete this was a chance to set the record straight, and for me it was a chance to show that wasn't just a one off.
It was also a chance for me to try out a few things before the next tournament. Firstly I wanted to try a combat group of the Giant and the two Gore Rider regiments, secondly I wanted to see if the army could handle a more open play style and see if that would allow me to get more units into combat.
I did think about playing the modified list that I'll be taking to Runefang but a combination of a long week and laziness meant that I didn't get all of the models finished in time.
Armies
Orcs
Ax Horde, Blood of the Old King 220
- Godspeaker, banechant, heal 100
- Wardrum 80
- Skulk Troop 75
Ax Horde 205
- Godspeaker, banechant, heal 100
- Giant 190
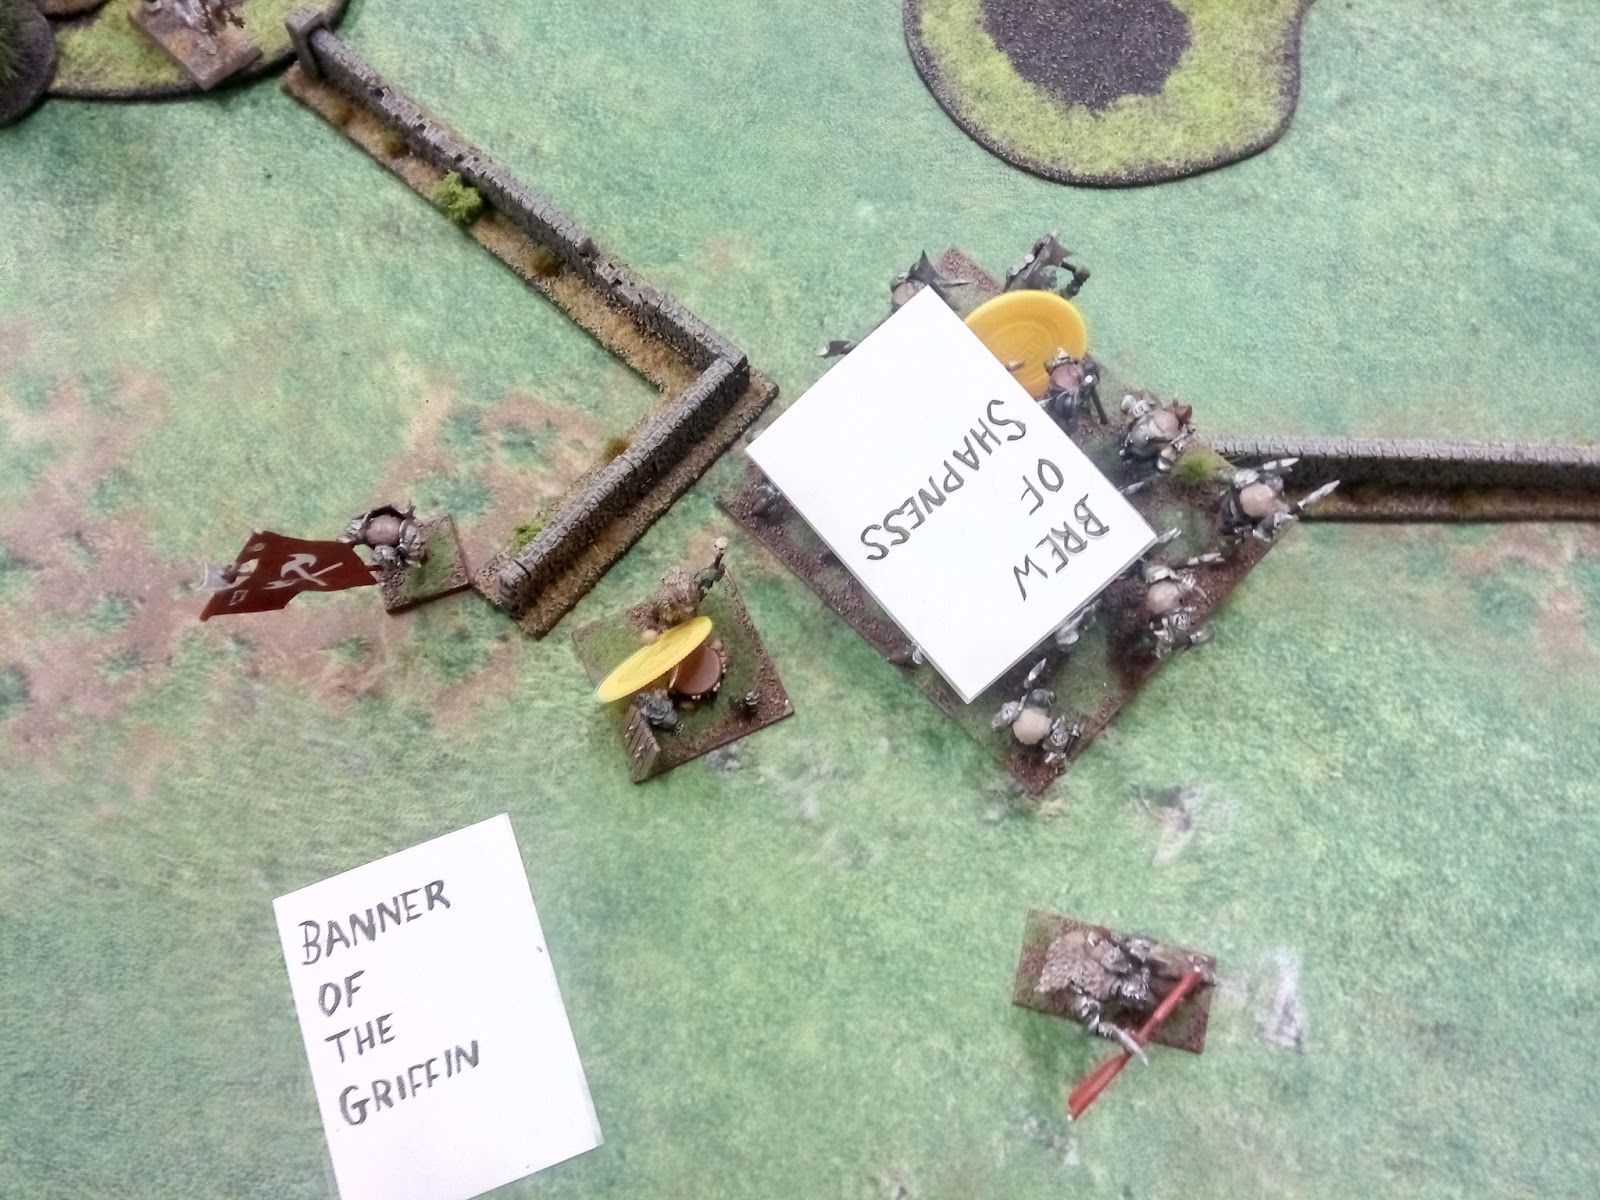
Morax Regiment, Brew of Sharpness 245
- Flagger, Banner of the Griffin 70
Gore Rider Regiment 185
- Flagger, mounted on Gore 65
Gore Rider Regiment 185
Troll Horde* 190
Orcling Horde* 90
Ratkin
Shock Troop Horde 230
- Weapon Team, storm of lead 80
- Death Engine, vile sorcery 210
- Warlock, banechant, Inspiring Talisman 130
Shock Troop Horde 230
- Weapon Team, storm of lead 80
- Death Engine, vile sorcery 210
- Swarm Crier Lute of Insatiable Darkness 65
Blight Horde 205
- Demonspawn, wings 340
Tunnel Slave Horde* 100
Tunnel Slave Regiment* 60
Tunnel Slave Regiment* 60
Mission and Terrain
We rolled up the eliminate mission from CoK, in this mission there is one central token and three tokens on each player's three most expensive units. Pete's three bounties were on the Demonspawn and the two Shock Troop hordes, whereas mine were on the Morax and two Ax hordes.
Bounty is an interesting mission. Both of us needed to kill some tough units and at the same time protect our own three most dangerous units, not a straightforward task.
My plan was basically to protect my bounties at all costs and then claim the middle point at the end of the game, or at least contest it. Not the most exciting game plan but I thought it might be my best chance at victory.
There was an unusual piece of terrain near the middle of the board - a height 2 impassible.

Deployment

As I mentioned above, I wanted to test out how the army functioned playing in a more open way. To this end I deployed my Ax hordes in a way to allow them to move either side of the height 2 and use it to protect my flanks.
The plan with the fast group on the right was to threaten flank charges if Pete turned to face the Ax infantry units, and for the Giant to use the forest as cover whilst threatening a long charge.
However I quickly forgot this plan, as will become apparent.
Pete won the roll of and gave me the first turn (I would have rather gone second!)
 |
| The Ratkin keep a tight formation |
Turn 1 Orcs
 |
| Thing start well for the orcs |
The Skulks started off on a high, firing at the Weapons Team, doing 2 damage and waving them!
 |
| The armies face off over the battlefield |
Turn 1 Ratkin
 |
| The Ratkin reposition slightly |
The Ratkin spell casters and monstrous machines quickly ensured that the Skulks wouldn't continue to pester the Weapons Team.
 |
| The ratkin keep a tight formation |
Turn 2 Orcs
 |
| The Gore Riders and Giant move in but are too far away to threaten the Death Engine |
With the Skulks dead, the Orclings were shooed in front of the orcs on the left flank, leaving the Trolls to chaff for the Ax horde.
The support units began to find themselves over-stretched by the orcs wide front, and relied on the partial cover of the ruins to support both Ax-hordes. However the Giant, Orclings and Trolls all found themselves out of both inspiration and Wardrum range
 |
| The cavalry take up positions |
Turn 2 Ratkin
 |
| The ratkin gun down the Trolls |
The rest of the Ratkin waited patiently for the orcs to be softened up.
 |
| The Weapons Teams move forward |
Turn 3 Orcs
 |
| The Godspeakers return fire |
The death of the Trolls took the orcs by surprise, as they noticed what a bad situation they were in. If they stopped their advance then the ratkin could continue to gun them down, but continuing to advance would allow the rats to take them out piecemeal.
On the right the orc cavalry couldn't risk charging into the blight, a combination of ensnare and terrain would negate the impact of a charge. They also couldn't charge the Death Engine positioned a sliver behind the two hordes, so they stopped, waiting for a better opportunity.
The Ax horde in the middle turned to face the Ratkin line and tried to keep within range of the Wardrum, Flagger and Godspeakers.
The Orclings saw a charge against the Slaves through the trees, opening up space for the larger orcs. However they didn't do much damage.
The Godspeakers, realising the threat of concentrated Ratkin shooting moved into range of the damaged weapons team and finished it off.
 |
| Let the chaff fight commence! |
Turn 3 Ratkin
 |
| The ratkin guns continue to fire at the orcs |
One of the Shock Troop hordes also moved up to block any charges on the Death Engine.
The Weapons team, Warlock and Death Engine fire at the Gore Riders. Whilst they only did 4 points of damage, the loud noises upset the boars, wavering the unit for a Turn.
The Slave Regiment charged back into the Orclings but only did a minimal amount of damage in return.
 |
| Where will the Demonspawn go? |
Turn 4 Orcs
 |
| The orcs lose their cool |
The Godspeakers moved to both block charges from the Slave Regiment and to fireball the Warlock. However they could only do 5 damage to the wizard.
The wavered Gore Riders were blocking a charge from the other unit, and worse of all were also blocked from retreating by the steady Gore Riders. Fearing being gunned down, the cavalry decided to get some of their value back by charging the remaining Weapons Team. They manged to break it but their charge left them a massive response from multiple Ratkin units.
The Ax horde and Giant charged the horde of Tunnel Slaves through the forest but could only do 10 points of damage and failed to wound them.
On the right the Orclings finally broke the Tunnel Slave regiment and turned to face the Death Engine.
 |
| The Gore Riders break the Weapons Team |
Turn 4 Ratkin
 |
| The Ratkin counter-attack |
The Shock Troops, Swarm Crier, Death Engine and Blight ran down the Gore Riders. After killing the orcs, the Death Engine and Swarm Crier both advanced, allowing the Blight to reform facing the rest of the orcs.
The Tunnel Slaves shuffled over to counter charge the Giant and whilst they couldn't break him, they continued to provide a shield against the Giant, Ax horde and remaining Gore Riders.
In the middle the Tunnel Slaves rushed forward at the exposed Godspeakers (probably overjoyed that they were fighting a unit that was unlikely to ever break them) and did one damage to the shaman, disrupting him.
The Demonspawn leapt over the low ruins, at the exposed rear of the Wardrum, quickly routing the orcs, repositioning to face the rear of the Ax horde.
On the left the Death Engine rolled into the Orclings in the woods, killing enough of the diminutive orcs to waver the unit.
 |
| The Demonspawn surprises the Wardrum |
Turn 5 Orcs
 |
| The orcs find themselves in trouble |
The exposed Ax horde responded to the Demonspawn by backing up as far as they could, offering a flank charge instead of a rear one. The non-disrupted Godspeaker further moved to block the Demonspawn.
His fireballs had no significant effect on it however he could possibly hold up the monster for one turn, and allow the respositioning Morax to charge it in the rear.
The Giant and Gore Riders finished off the Slave Horde, and moved backward, blocking as many charges against the Ax horde as possible.
Things looked grim for the orcs!
 |
| The Godspeaker stalls the ratkin advance |
Turn 5 Ratkin
 |
| The ratkin press their advantage |
The Ratkin continued to press their advantage, on the right the Shock Troops massacred the wounded Giant, and the Death Engine rumbled into the Gore Riders, wavering them again.
The unengaged units advanced as far as they could. However the Slaves again failed to shift the Godspeaker stalling the Shock Troops for another turn.
Spotting the vengeful Morax, the Demonspawn decided that it'd rather be elsewhere and ignored the Godspeaker to leap behind the Ax horde.
On the left the Death Engine turning to face the Ax horde, whilst still blocking the orclings (and giving them a hindered charge).
 |
| The Ratkin elite troops engage |
Turn 6 Orcs
 |
| The orcs get desperate |
In desperation, the Mounted Flagger and Godspeaker managed to ground the monster, limiting its charge options and hopefully giving the Morax a chance to charge it
The Orclings charged the Death Engine as the left Ax horde gave up on seeing combat and settled down for a rest in the other forest.
 |
| The slaves and Godspeaker up close and personal |
Turn 6 Ratkin
 |
| The Gore Riders continue to waver |
The Slaves again failed to break the Godspeaker, leaving their frustrated Shock Troops waiting behind them.
On the Left the Death Engine crushed the rest of the orclings and backed off slightly showing its front to the Ax horde in the forest.
The other Death Engine again wavered the Gore Riders, failing to claim their victory points.
As things stood the ratkin had won, but we rolled off and there would be a turn 7, giving the orcs a sliver of a chance of getting a draw...
 |
| The Demonspawn in a good position |
Turn 7 Orcs
 |
| The orcs' last chance... |
In order to claim a draw, the Morax would need to break the Shock Troops, and then survive the charge of the Demonspawn, and potentially the Tunnel Slave regiment as well. It was unlikely but not impossible.
The Flagger advanced to block the Blight from charging the Morax should the Shock Troops break, as the Godspeaker repositioned to continue chaffing up the Tunnel Slaves.
As it was the Morax under-performed, doing a total of 12 damage and failing to roll the double sixes needed to break the Shock Troops, giving the Ratkin victory!
 | |
| The orcs last gambit fails to pay off |
Turn 7 Ratkin
 |
| The defeated orcs are slaughted |
...and kill they did, the Death Engine finally crushed the Gore Riders, the Blight executed the Flagger, the Slaves chopped down the defiant Godspeaker and the Demonspawn and Shock Troops made easy work of the Morax.
The orcs were run from the field, giving the Ratkin a comfortable victory at the loss of only a few slaves.
 |
| Not a good place for a Flagger! |
After-battle thoughts
That was comprehensive! Congratulations to Pete. He played well and punished me mercilessly for my poor play and definitely deserved the win. It was nice to see what this army can really do (again), and how effective the Slaves are as chaff.
Overall I'm pretty disappointed by my play, but hopefully I've got some mistakes out of my system, and learned a few lessons ;)
Trying to play more openly clearly failed. It left my units isolated and open to flank charges, and also meant that I couldn't cover them with the inspiring and Wardrum support. If I am going to play more expansively like this, I'll need more inspiring. However, I think I'll be going back to my tighter formation from now on.
Beyond that, I again failed to see the Demonspawn coming - I thought Pete would try and shoot the Wardrum down and thought it stood a reasonable chance of surviving, and totally forgot the massive flier sitting in the corner.
I also messed up my positioning and charges on the right. I panicked with the non-wavered Gore Riders and wasted them on a really stupid charge thinking they were dead either way. I knew that I couldn't break the Blight but for some reason thought that taking out the Weapons Team was the best option, rather than just retreating a few inches.
I also thought that the Ax horde and Giant would break the Slaves that turn If this had happened, it would have given me the first charge into the Shock Troops. However tallying it up I was being optimistic to say the least
The one positive I can take out of the game was that I managed to hold up a reasonably large number of points with the Godspeaker, something that I said I would practice, but I think that I need to still work on in future.
I'll be bringing a slightly different army to Runefang on Saturday and will put up reports from the games there. However I'm going on holiday next week so I probably won't be able to get any reports finished before the 12th of June. After that I'll try and get 1 - 2 done a week.